iPhone cameras are so advanced they allow users to easily snap images and shoot videos like pros. Before you start capturing away, though, there are a few tips that can help ensure you get beautiful shots.
First, learn how to use the iPhone camera shortcut. When you swipe up on your iPhone from your Lock screen, you can tap the camera icon to launch the app. Using this shortcut will allow you to capture short-lived moments and other rare appearances that will disappear before you have the time to unlock your device and launch your camera.
Another technique that can quickly improve your shots is Burst mode. If you have an iPhone 5s or newer, you can use Burst to snap images in speedy succession, allowing you to get a clear shot of the most photo-worthy moment.
A third must-know tip is how to focus your camera. On your iPhone’s viewfinder, tap and hold the subject you’d like to be in focus. When you tap and hold down an area on your screen, a “AE/AF” alert should populate. As soon as this message comes up, your camera has secured automatic exposure metering and focus on your chosen subject. After the photo is stored, tap anywhere else on the frame to remove the lock.
It’s also possible to crop, straighten, rotate and otherwise edit your iPhone photos directly on your device. To play with these settings, launch the Photos app on your iPhone. Find the photo you’d like to change and tap on it so it opens.
As you’re looking at the photo, you can select “Edit” on the top of your screen. From the menu on the bottom, you can rotate, add a filter, alter the light, alter the color and markup your selected image. Under the menu screen, the magic wand icon in the right corner near the top of your screen will quickly enhance the photo for you. With these few quick tips, you can make sure you’re taking high-quality images that will look great on (and off) your iPhone.
If you need professionals to help you with any of these functions (including transferring your photos and other media), reach out to HelpCloud Technician by-the-hour.
1) Use AirDrop
AirDrop is a user-friendly, efficient technology that allows you to transfer information, like photos and videos, through the air from your iPhone to your Mac. For this technology to work, you first need to enable AirDrop on both your devices.
On your iPhone, swipe up from the bottom of your screen to launch your Control Center. On this menu, turn on Bluetooth and WIFI. Then, tap AirDrop and decide if you’d like your contacts or everyone to have access to your AirDrop. For safety measures, it’s smart to select contacts only to start.
Now, on your Mac, open the Finder application. Select “Go,” and then tap “AirDrop.” A window should open, and as long as your Bluetooth and WIFI are powered on, AirDrop will automatically activate. Before you close the window, make sure you choose who you want to be able to see your device.
To transfer files wirelessly from your iPhone to your computer using AirDrop, start by scrolling up on your iPhone from the bottom of the screen. Tap on AirDrop and select “Everyone” from the menu that appears.
Next, launch your Photos app. Tap on the video or image you’d like to transfer, push the icon in the bottom left-hand corner, decide if you’d like to add more photos to your file transfer and then click your Mac device under “Tap to share with AirDrop.”
Next, your computer should notify you of the AirDrop request, generally by displaying a banner near the top of the screen. You will need to click either “Accept” or “Decline” on the pop-up menu. Under “Accept,” a drop-down menu will allow you to either open the AirDrop request in photos or save the files to your computer’s downloads.
After you’ve accepted the transfer on your computer, give your phone a few seconds to send the data successfully. If you are sending a lengthy video, AirDrop may take a full minute or more to transfer the data.
If you chose to have the files save in your computer’s downloads, launch your Finder application. Under the downloads section, you will be able to see your new files and some basic information about them, like their sizes. If you are having any kind of difficulty with the transferring (or syncing) of iPhone media files to your Mac, consider reaching out to HelpCloud technicians for remote support to resolve the issue.
To move a file from your Mac to your iPhone with AirDrop is also very simple. In order to transfer, highlight the photo or video you want to AirDrop from your computer to your phone. Navigate to the share icon (which looks like a box with an arrow coming out of its top) and tap it followed by “AirDrop.” Your iPhone should populate on your computer’s screen, and all you need to do is tap your phone’s icon to send the file.
Shortly after you select your device, your phone will show a notification asking if you would like to accept or decline the AirDrop. Once you hit “Accept,” the image or video will be added to the Photos app on your iPhone.
2) Take to iCloud
With iCloud, all your Mac’s photos will wirelessly sync to your computer. Thanks to this system, even if you lose your phone or it’s stolen, you can rest assured your images and videos will not be lost. With iCloud Photo Library, users can access images, both offline and online, on all devices at all times.
Launch the Photos app on your computer and then click “Photos” in the top left-hand corner of the screen followed by “Preferences.” Under the iCloud tab, select “iCloud Photo Library.”
After you do this, your computer should upload the images and videos you have stored in the Photos app on your iPhone. As soon as you turn this feature on from your computer, the photos and videos you take on your devices should automatically upload to your iCloud.
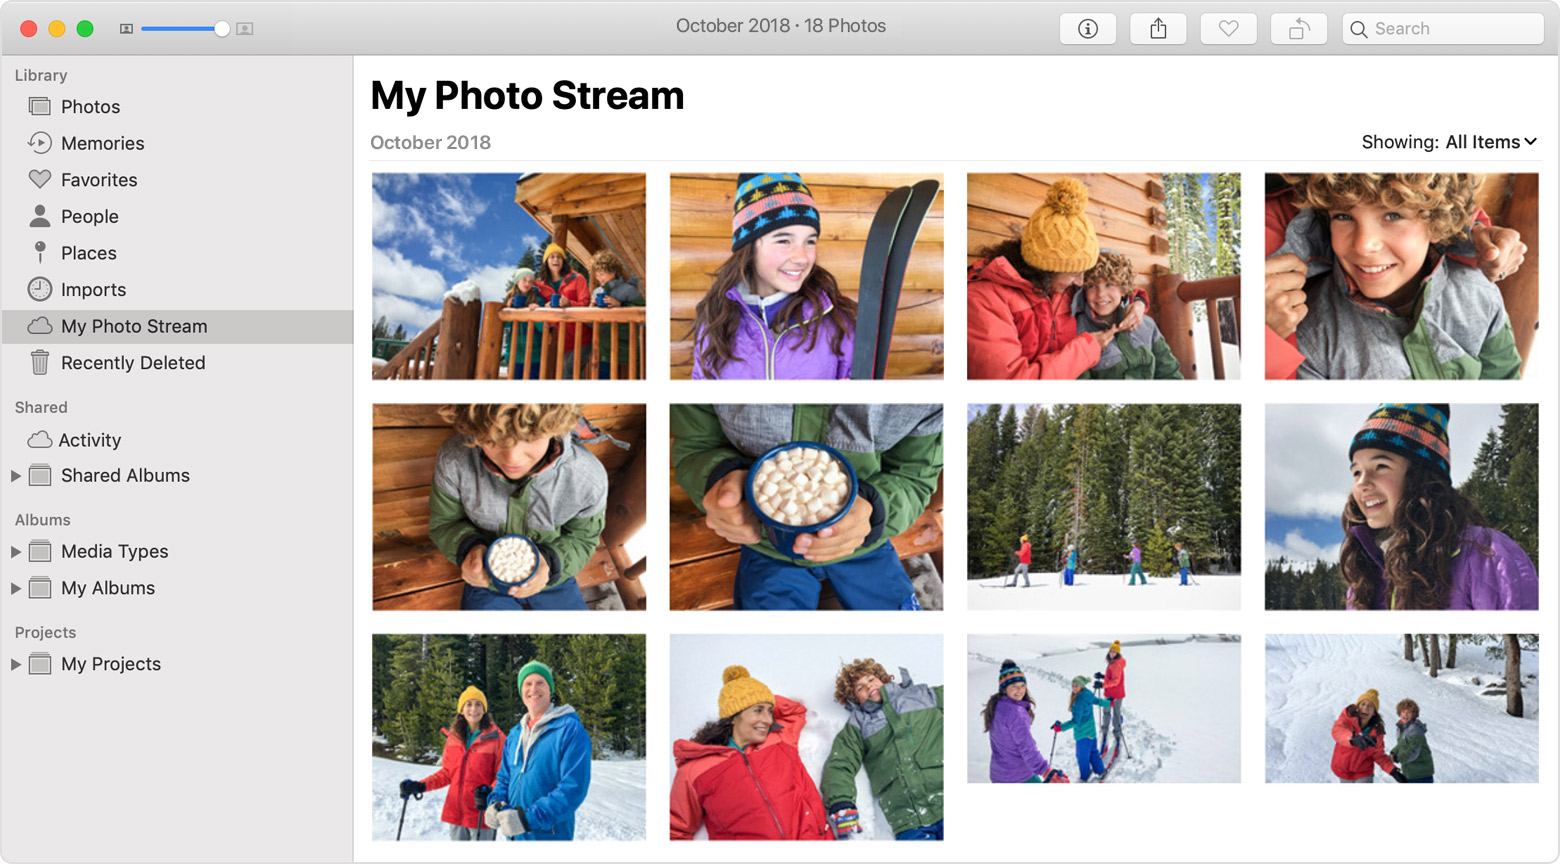
Another option iCloud users can enable is My Photo Stream. iCloud Photo Library and My Photo Stream allow you to access your photos across all your devices. Sadly, Apple doesn’t currently allow videos to be shared with quick syncing at this time, though.
Still, you may be wondering, why would you use one over the other? There are benefits and disadvantages to each system. To learn which one is right for you, reach out to HelpCloud customer support for more information.
Starting to use Photo Stream is simple. From the Photos app on your Mac, click the “Photos” menu in the upper left-hand corner. Under, “Preferences,” navigate to “iCloud.” Make sure the box next to “My Photo Stream” is clicked, and the setting will be enabled.
3) A USB Cable Will Do the Trick, too
The two options above provide wireless ways to transfer images and videos from your iPhone to your computer. To use a wire to transfer your photos, you’ll want to have a USB connector on hand.
To start, you need to connect your iPhone to your Mac with a USB to Lightning cable. You likely already have a Lightning connector at your place of residence. The cord that charges your iPhone and allows you to connect to charging bricks and other devices is a Lightning connector.
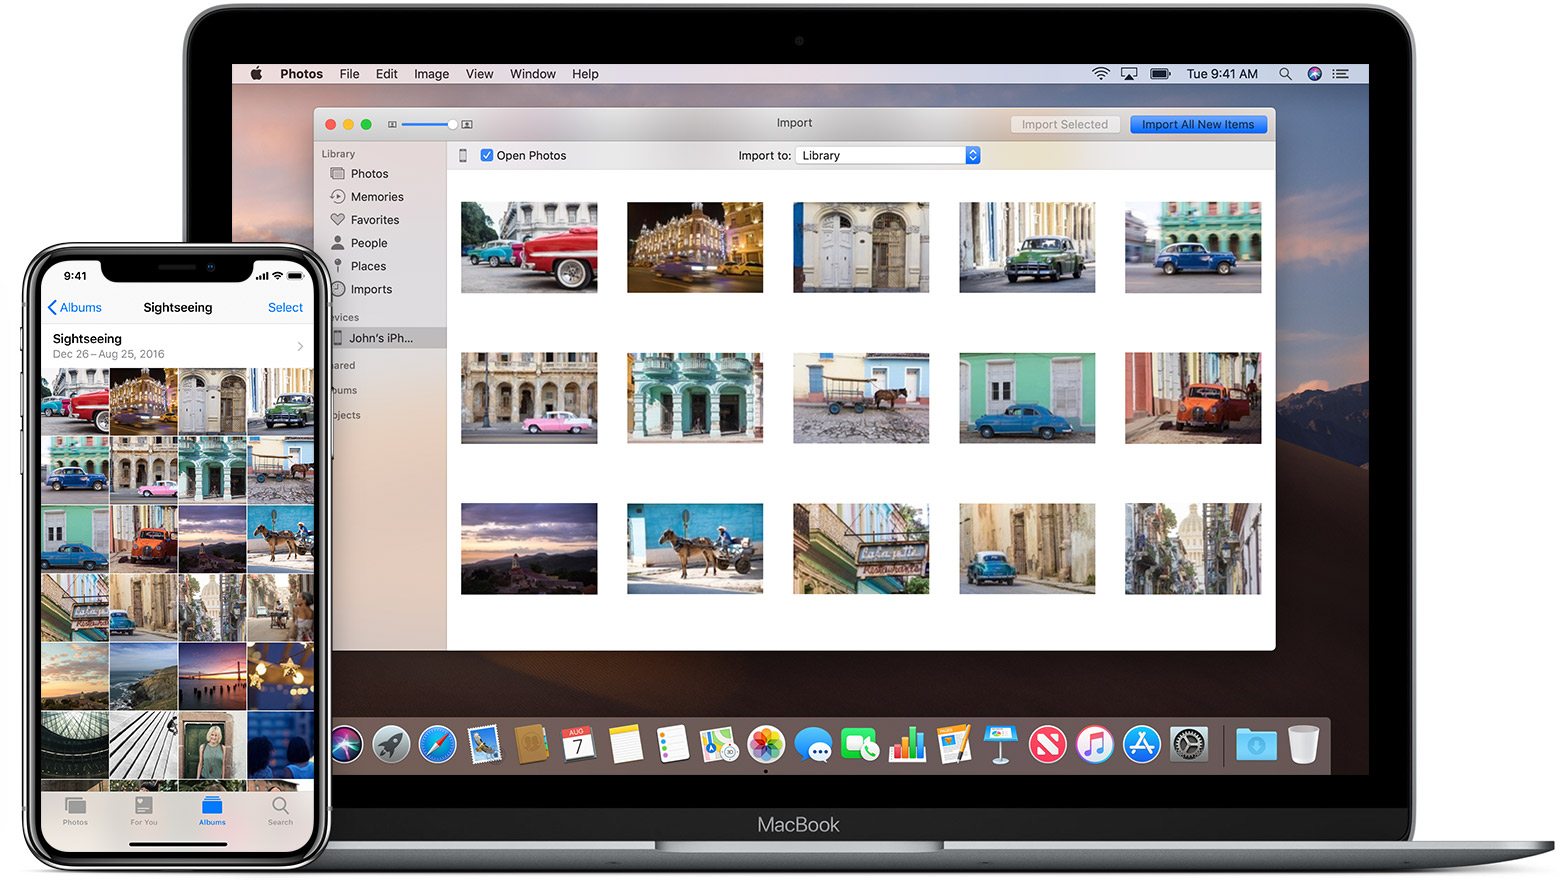
When you connect your iPhone to your Mac, an app will launch. In the event nothing happens, you can also manually launch the Photos app. On the window that appears, under the “Devices” section, click on your iPhone. You will then go through your images and videos to select the ones you’d like to import. To upload all of your data, click “Import All New Items.”
Another helpful thing to do at this point is to check the “Delete items” checkbox. If the deletion box is checked, the photos and videos will erase from your iPhone as soon as they’re uploaded to the computer, freeing up valuable storage space.
If you’re having any issues uploading through the Photos app, you can upload through Preview. After connecting your iPhone to your computer with a USB, open Preview and click “File” near the top of your screen. You will then tell your computer you want to import from your iPhone.
Before the photos load, you can select the ones you’d like to transfer or opt to transfer all your images. With your selected photos in mind, you will finish by choosing a destination for your photos.
More Options?
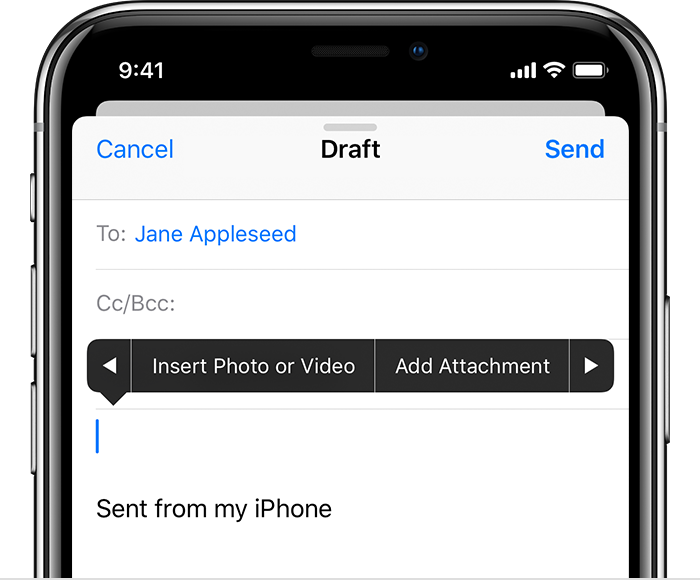
As you likely guessed, the three techniques above are only a few of the ways you can export the photos and videos from your iPhone to your computer. For example, you can also send photos from your iPhone to Mac with email. Likewise, the ways in which you can improve the quality of the photos you take are seemingly endless.
In addition to using the features and options already included with Apple’s technology, you can play with different applications that expand your options. iMobie AnyTrans is one such app that can help you transfer photos and videos from your phone to computer in a fast, hight-quality way. iMobie’s AnyTrans can copy any file from your iPhone and send it to your computer.
iPhone’s photo technology is pretty amazing, and it’s only getting better with time. Keeping in mind the tricks and tips above, you’ll be able to take advantage of iPhone’s current imaging options.