You spend a lot of money making your house a home.
Whether you’ve invested in steel appliances, nice countertops or furniture that will allow your family to gather, where you live is a big investment. Luckily, your next upgrade doesn’t need to be costly. The Nest Learning Thermostat is a smart device that won’t cost you an arm and a leg.
This article will review common install and troubleshooting instructions. For some, even reading this article won’t be enough to help them resolve your issues. If you’d rather rely on an expert, then reach out to HelpCloud Technician by-the-hour and we’ll help you set up your Nest Thermostat or help you with troubleshooting issues.
Overview
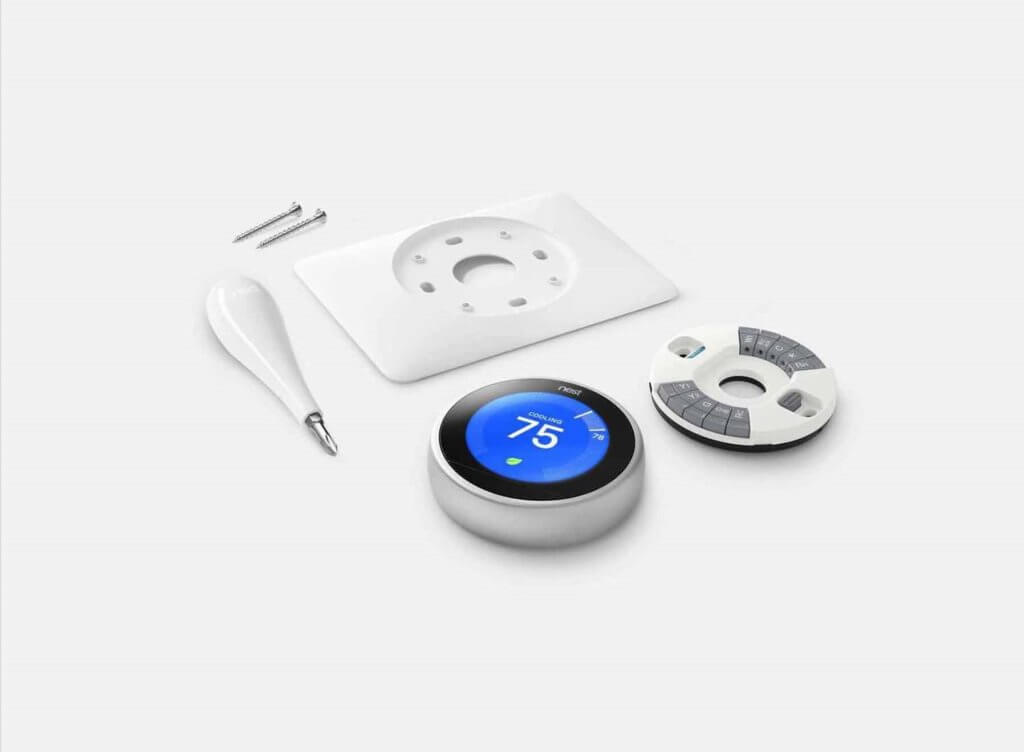
First things first, the Nest is so user friendly someone with little to no background in technology installation can put it up with ease. Everything you need to start using the thermostat will come in the Nest’s box; they even include a screwdriver with the system.
You can read the included user manual to guide you through the setup process. The Nest application, which you will download on a smartphone or similar device, also provides step-by-step instructions for installation and setup.
If you’re still uncomfortable with the process, you can look on Nest’s website to find a technician who can come and install the unit. If there are no technicians in your area, any local air conditioning business should be more than happy to help you with installation.
No matter how your device is installed, it’s pretty smooth sailing afterwards. The Nest runs at all times and will automatically download and update itself. So, you don’t need to worry about additional work once it’s in place.
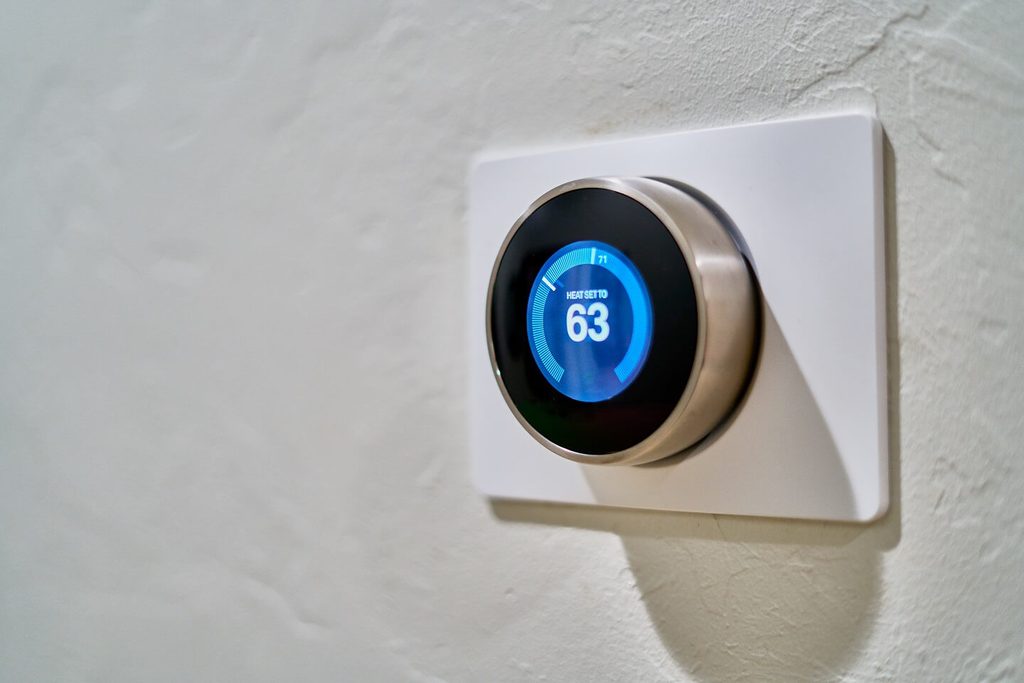
When it comes to design and functionality, the Nest is pretty amazing. By touching two fingers on the silver ring on the outside of the device and sliding to one direction or the other, you can easily set the temperature.
The Nest will always display the current temperature, the temperature you’ve set and the estimated time it’ll take to get to that temperature. If the unit is heating, its screen color will be orange. If the Nest is cooling, the display will turn blue. The more you use the device, the more it’ll learn what you like.
To learn your habits, the system monitors when you turn down the device or increase the temperature to look for trends. For example, if you turn down the temperature a few degrees before you go to bed, the device will notice and start to make this change for you. The device even takes into account the outside temperature to ensure you have a temperate environment inside.
The unit can also tell when people are home and when they’re away. To save money and energy, Nest will automatically change the temperature when the home is empty. If you have a dog or are worried about your home getting too hot or too cold while you’re away, you can disable this setting or set minimum and maximums for the temperature range.
Nest also allows you to control the unit from the convenience of your smartphone or other smart device. Whether you’re at home or away, you can change the temperature of Nest. Voice assistants, like Alexa, can also be used to manage the temperature of your home through Nest.
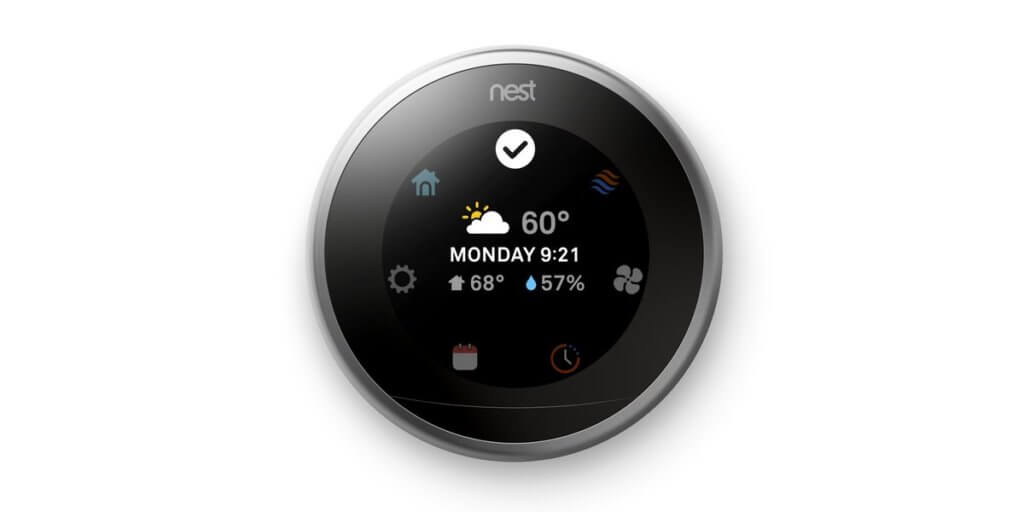
Another amazing feature of this smart thermostat is its screen. It clearly displays the temperature in large, lit numbers that are easy to see. The unit can also be personalized so it shows the time or the outside weather for the day.
Installation Steps
As you might have guessed, some common user issues revolve around the installation process. The first thing you need to do to succeed is turn off your breaker. Remove the cover of your thermostat and make sure your system is not a 240- or 120-volt system. If your voltage is one of these two numbers, you will not be able to use Nest. Otherwise, you should have a green light to continue.
The next step is critical …
Before you go any further, make sure you take a photo or draw a representation of your current configuration. If anything goes wrong, you’re going to want to be able to retrace your steps. There are also sticky tabs in the Nest packaging box that you should use to mark the different wires.
Once the wires are tagged, you can disconnect them. As soon as they’re disconnected, you can remove the back of your old thermostat from the wall. While removing, move slowly, as you don’t want any of the wires to fall back into the wall.
If there are remaining screw holes, you can either patch them or use the Nest base plate that should be a similar size to your old unit. No matter if you use only the Nest or the Nest plus the base, you’ll feed the wires through the circular center of the back of the unit. Using the built-in level as a guide, use the included screwdriver to attach your new smart thermostat to the wall.
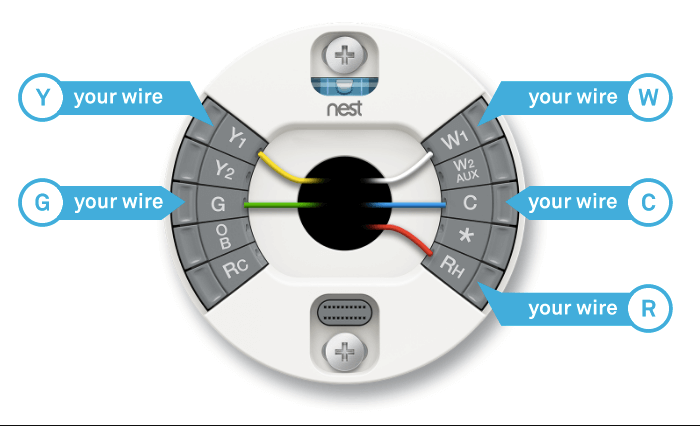
You will see several wire inputs around the Nest. Match each wire, which should be clearly marked with the included flags you put on earlier, to its input. Press and hold down the input while you slide a wire into place.
At this point, you’re ready to attach the display by pressing the Nest onto the back of the unit. You should hear a satisfying “click” when the unit is in the right place.
Now, return power to the area. When you do, Nest will automatically power on. After following the quick setup outlined in the user manual and on the application, the unit will be all ready to go.
Other Common Problems
Nest Thermostat Isn’t Flush with Wall
Another issue a fair amount of Nest users face is when the device doesn’t sit close to the wall. If this happens, it can be hard to click on different settings and change the unit’s temperature. Fortunately, there’s a good fix for this issue.
The wires behind the unit might be protruding too far, knocking the Nest off center. You can wiggle the wires further into the wall and make them flush against the back of the device to stabilize how it sits. Another option is to snip and re-strip the wires so there’s shorter wires with fresh copper to be connected.
Hot Air Instead of Cold Air
When you set your thermostat to cool for the first time, you might find the air comes out hot. Although there are a few possible causes of this issue, the most common is that the wiring is incorrect. Before you do anything, turn your breaker off again. Now, you’ll have to work backwards, referencing the photo or drawing you made of your old thermostat’s wiring.
Take note of which wires fit with which letters on the heat pump. You should see letters, like “Y, R, G,” and letter combinations, such as “AUX” and “Rc.” You will then be able to rewire the Nest thermostat. If every wire is in the right place, your Nest should start putting out cold air when it’s set to cool.
Nest Thermostat Won’t Turn on After Installation
Another thing many users experience is the unit not turning on at all after installation. This common issue is normally due to a specific wire, the “R” wire. Again, before you do anything, go to the breaker and power off the energy to your thermostat.
While you’re looking at your breaker, make sure the system has not been tripped. If any of the switches are between the on and off positions, flip them all the way off and then back on again.
You might find that doing the above provides your system with power. Sometimes, though, there’s a bit more troubleshooting to do. Look to see if your system has an “R” wire. If it only has one, the wire normally needs to go into the “Rh” wire port. If it’s already in this position, try it in the “Rc” port.
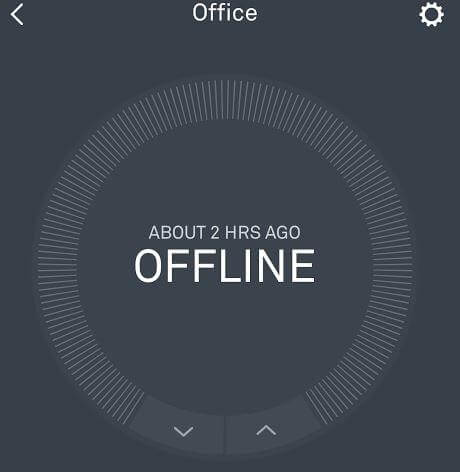
Nest Keeps Going Offline
Another troubling thing that can happen to the Nest is it going offline. In some ways, this is like when your computer disconnects from WiFi for no obvious reason. To troubleshoot, you’ll first want to check your WiFi connection.
You can run a speed test on another device to make sure everything is running smoothly. Next, you’ll want to load Nest’s website to make sure their systems aren’t down. Although this is very uncommon, it does happen from time to time.
If neither of the above resolves your issue, go to your system’s application. Make sure the app on your phone, tablet or other smart device is updated. If the application is out of date, it may not function properly.
Now, check the battery itself. To do this, go to your Nest device and navigate to “Settings.” Within “Settings,” scroll to “Technical Info.” Under “Power,” look at your battery’s information. If the battery does not receive 3.6 volts or more, it’ll disconnect.
If all else fails, you might want to see if resetting the thermostat fixes the issue. Under “Settings,” click the “Reset” option. Within a few minutes, the device will restart. It should automatically reconnect to the WiFi.
If you are still having any kind of difficulty installing, using or troubleshooting your Nest Learning Thermostat, consider reaching out to HelpCloud Technicians for remote support to help resolve the issue.
A Worthwhile Upgrade
Instead of splurging for new paint or another big upgrade, consider making your house more enjoyable with the Nest Learning Thermostat. From easy installation to unmatched convenience, the device might make you soon forget how you ever functioned without a Nest.
Remember, with any of these troubleshooting issues or if you want a technician to walk you through an install, reach out to HelpCloud Technician by-the-hour and we’ll see how we can help.
