The days of photo albums are mostly gone.
These days, the physical photo is rarer than it’s ever been. When film cameras were more common, it was routine to have albums full of photos from trips, family events, and other notable experiences. There are priceless memories bound up in those old pictures that you might have tucked away in an old shoebox.
Photos can be damaged by being stored improperly, though. You have a shoebox in the garage? The heat and cold has probably faded them and made them brittle. Mold, sulfur, insects and rodents can also take their toll. The sooner you get them into a digital format, the better, as physical damage can compound over time.
If you want to keep them for the long-term, converting them to digital is the way to go. Unlike physical media, digital files aren’t susceptible to age. They don’t fade in the sun or warp in the heat. If you find the right medium to keep them on, they’re easy to share, easy to save and easy to keep for the long term.
There are plenty of services that are willing to do the work for you if you want to ship them off. For many people, that might be worth the money—skip the fuss and bother, don’t worry about scanning it yourself.
But if you’re one who wants to save some money or wants the experience of doing it yourself, it’s actually not that hard. You can do it with a minimum of equipment and effort. You can even start to reverse the effects of age or improper storage digitally, making your photos look more like they used to.
Follow the steps below in order to save old photos as digital copies.
Scanning Photos
To get started, you’ll need to scan your photos. There are a couple of different ways to go about this. If you’re just looking for a quick and dirty conversion, your smartphone is probably fine.
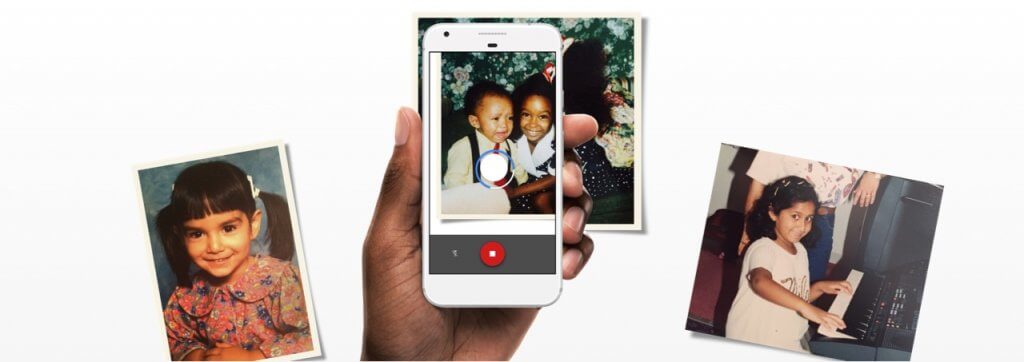
Smartphones support software that can turn the onboard camera into a scanner that can turn your photographs into a digital file, albeit one that’s fairly low-quality. If you just want something you can share easily and aren’t looking for a high-quality, archival solution, this is probably fine.
It’s easy to get those photos onto your smartphone and from there to a cloud-based program like iCloud or Google Drive, which will let you share them and store them easily.
Mobile apps like Google Photos or another general-purpose photo-scanning app can help you import pictures quickly and easily without any fuss. Google Photos has a tool called PhotoScan that works for free, and there are quite a few different options out there if you search “photo scanning software” in your App Store or Play Store.
The better option for long-term archival is a dedicated scanner, which will give you a much wider array of options, a higher quality and a more consistent scan from photo to photo.
There are a ton of different hardware options out there, but this list of photo scanners can get you started if you don’t own a scanner already. Many multifunction (3-, 4- or 5-in-1) printers allow for scanning as one of their main functions, and if you own or can use one of these you don’t need a standalone scanner.
To scan your photo, there are a few steps you’ll have to go through:
- Step #1 – Place the photo face-down in the corner of the scanner.
- Step #2 – Open your scanner application and adjust your settings.
- Step #3 – Make sure you’re scanning in color, not black and white—presuming your photos are in color.
- Step #4 – Choose your pixels per inch. 600dpi is optimal. Larger than that and your photos will be larger than is practical, smaller than that and you lose detail.
- Step #5 – Choose your format. Whatever most of your photos are in is fine. Lossless formats like RAW and TIFF keep more detail, but make larger file sizes and are less portable. JPG/JPEG, PNG and other formats have lower file sizes, but need to be high-quality to not get artifacts or fuzziness.
- Step #6 – Choose your resolution. Generally, the higher the resolution, the better. Especially for long-term archival solutions.
- Step #7 – Scan your photo. The software will guide you through the rest of the process.
Scanning Slides or Negatives
If you have slides or negatives that you want to scan, you’ll have a little different process.
Those slides or negatives aren’t scannable the same way as you would do a traditional scan, because they’re transparencies, which need some sort of backing and backlight to be able to scan as a regular photo without a special scanner. You can construct a homemade scanning solution to do this if you don’t have a scanner for it, too, but it’s a bit more of a pain.
If you’re trying to scan negatives, you’ll need to do some color correction on the other end, which takes a little bit of skill with photo manipulation software.
The easier solution is to use a special scanner that works for film or slides, and if you want to do that, there are some good options out there. Either way, doing a scan of film or slides will give you a high-quality image that you can use just like a regular print.
Correcting Photos
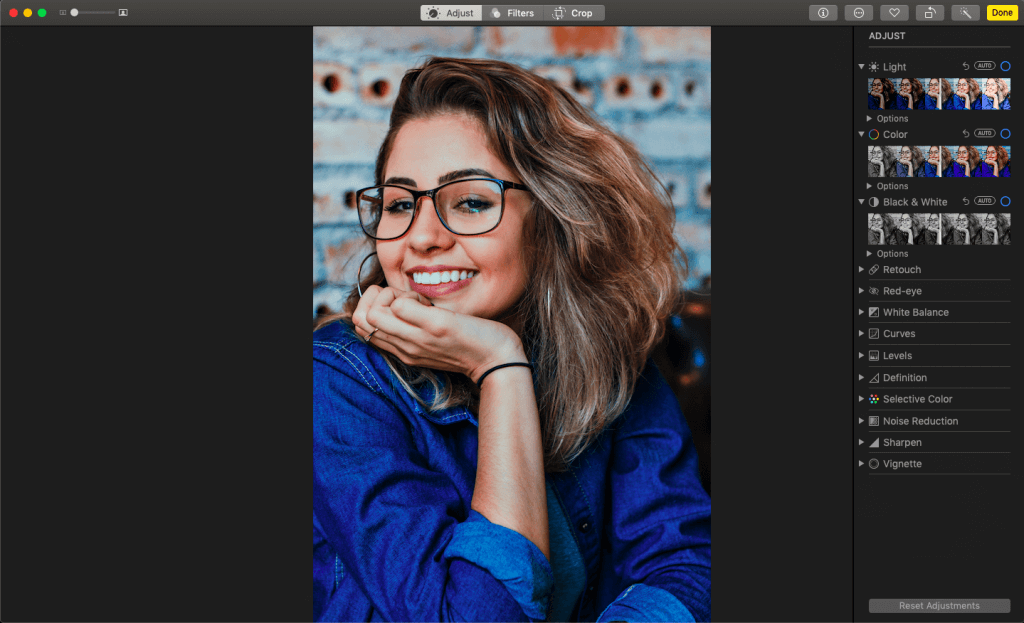
Your photos have probably seen some wear and tear, and they could use a little TLC or facelift if they’re a little older. That’s where photo retouching software comes in. Google, Apple and Microsoft all have basic options, and for more advanced photo editing something like Adobe Photoshop is a standard choice.
No matter what software you use, there will be a few basic options. There will be an automatic adjuster which will allow you to color correct at the click of a button. There will be a crop tool. There will also be sliders you can use to adjust colors if you want to do the job manually.
Most photo programs have that auto retouch option, which can be fine for basic retouching, but if you want to dig into it a little bit there are other options that allow you to mess with color more. That’s beyond the scope of this article, though. Photo retouching and color correction take some time to learn.
For very basic fixes, a “clone brush” tool can help you cover up small blemishes with background color. Cropping tools will also come in handy to help you cut away everything that isn’t the photo. Other retouching tools require more advanced understanding, but a good photo editor can make your photos look like new.
Different photo editing programs have different options. Try searching your program on YouTube with “how to” for easy guides on basic retouching for common photo-editing programs.
Storing Your Photos
Once you’ve touched up your photos, you’ll have to figure out how and where to store them. There are a few different ways and places you can do this:
- Option #1 – External hard drives. This is the easiest, highest-capacity physical option. Hard drives can hold hundreds of thousands of photos, and even if you’re taking very high-quality images you can store a ton of them in one place. Hard drives last for a long time in computer terms, but sooner or later they fail, especially under heavy use. Keep your drive separate from the computer, as you would with any good backup.
- Option #2 – Flash memory. Small USB drives or memory cards like SD are workable storage as well, with similar drawbacks and strengths as the external hard drives. These are commonly used in digital cameras, which makes them an easy solution for people who already use a digital camera. You’d probably have cards on hand.
- Option #3 – Optical media. Writable CDs and DVDs are a common option used for backing up photos, and can be useful, though they degrade over time. If you’re using this option, make sure you have a secondary backup so that you don’t wind up pulling out your CDs ten years down the line and discovering they’ve failed to disc rot. They’re good for being able to share files on a physical medium, though.
- Option #4 – Online storage. This is one of the most common options. Google Photos, Microsoft OneDrive, and iCloud are all examples of this. Some of these cap your maximum storage until you pay more, so if you’re dumping a big archive, be aware.
Whatever option you choose, you’re best off keeping multiple archives in case one goes down. Redundancy in backups is the name of the game. IT professionals have a rule of thumb: three copies of anything you care about, at least two different storage mediums, and at least one offsite backup—that way you’re set, no matter what catastrophe may come.

Taking your analog photos and converting them to a digital format is easier than you think. The hardest part is making sure you have the right hardware and software, but with some of the suggestions we’ve given and linked to here, you’ll be on the path to success.
If you need a hand getting things set up, HelpCloud is here to help you work your way through some of the harder settings. We can connect to your computer and guide you through.
So don’t let those old prints molder in the garage any more, or waste away in an analog photo album and slowly deteriorate. Digitize them and make sure those precious memories can be accessed, shared, and given to future generations.
