1Password is an online password storage tool that works with your browser and mobile devices and makes it easy to remember all your passwords and login details for your various online accounts.
With 1Password all you need to remember is one master password. This is used to access a secure online vault containing all your other passwords that you can recover and use with a single click.
1Password offers a free trial. No credit card details are required if you want to give the service a try before you buy. After the trial period expires it costs $3.99 per month to continue using the service (or $2.99 if you pay annually). There’s also a family option available.
Setting up 1Password can be a little complex compared to some other password managers. This guide takes you through the process step by step.
Registering for a Free 1Password Trial Account
To begin, go to the 1Password home page at https://my.1password.com.
To sign up for the free trial, click the “Try it Free” button at the top right of the page.
On the next page, type in your email address and click the Continue button.
You will see a message advising you to check your email inbox. Go to your inbox and find the email verification request from 1Password. It may take a minute or so to arrive.
Inside the email, click on the button to verify your email address.
This will bring you back to the web site and allow your to complete the registration process.
When you have selected a Master Password click the Continue button.
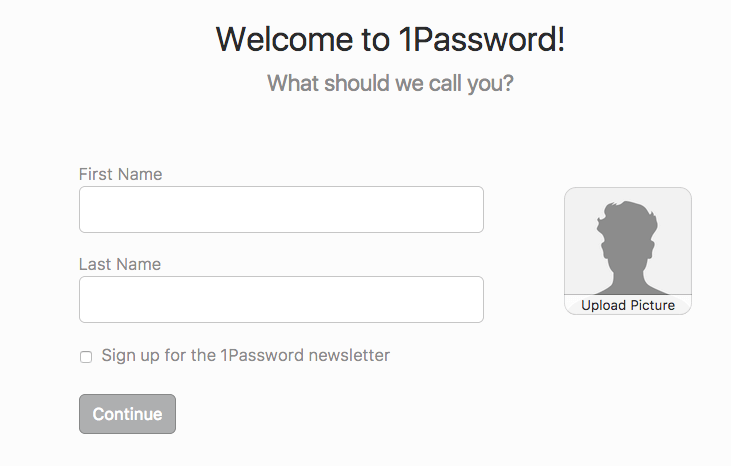
Type in your first name and last name and sign up for the newsletter if you wish.
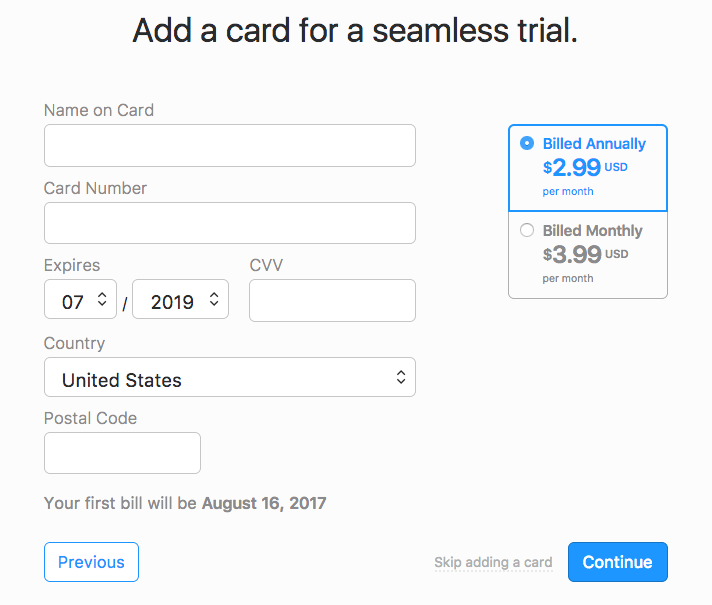
You will now be asked to enter your payment details. Go ahead and provide these details if you are sure you will continue to use 1Password after the trial period expires. Otherwise you can click the “Skip Adding a Card” link to proceed without providing payment details.
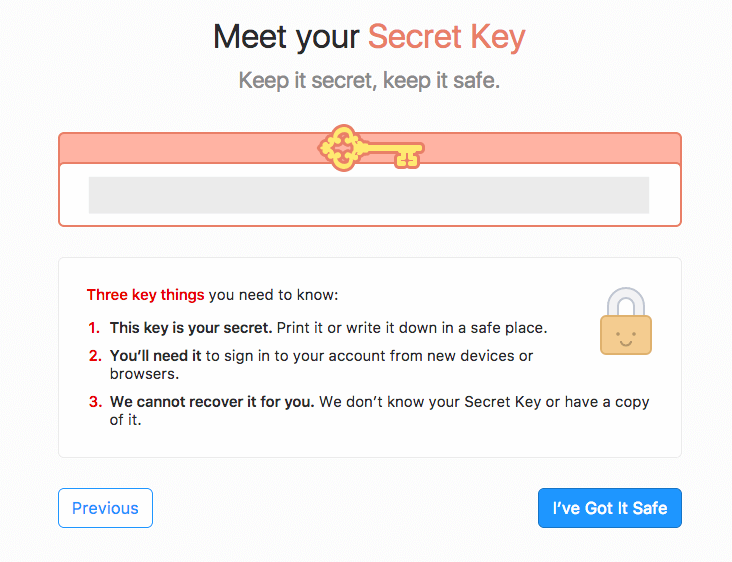
On the next screen you will be provided with your Secret Key. This is unique to your account and you should write it down and store it in a safe location.
You will need this key to add additional devices to your 1Password account, so don’t lose it. Click the “I’ve Got it Safe” button to continue.
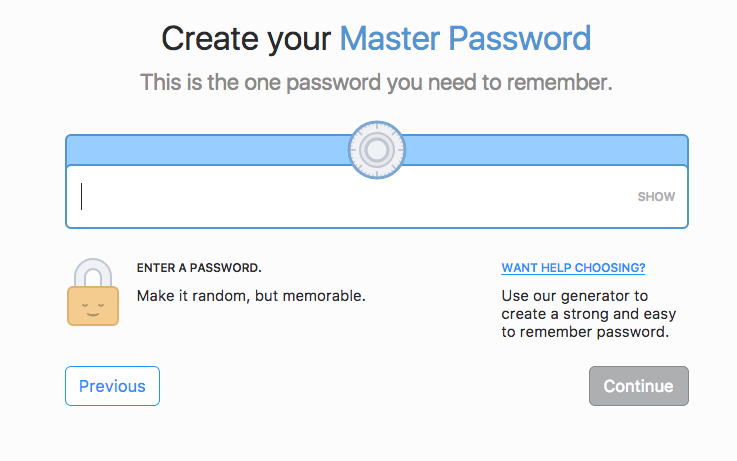
On the next screen you will need to select a Master Password. This is the one password that protects all the password 1Password will store for you, so it must be a strong password and you must be able to remember it.
1Password will advise if your password is secure enough as you type it in. You can also auto-generate a password if you can’t think of something suitable.
For advice on why you need a strong password please see our Password Guide.
You have now completed registration and it is time to sign into your new account.
Sign In To Your 1Password Account
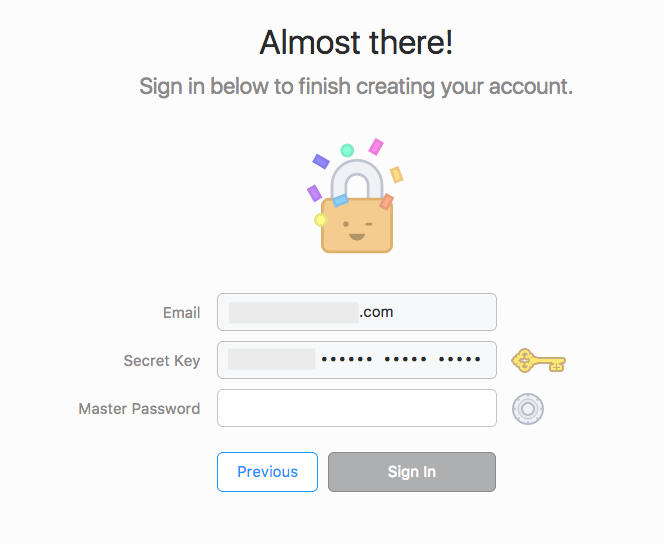
The first time you sign in your Email Address and Secret Key should be pre-filled for you. All you need to do is type in your Master Password and click the Sign In button.
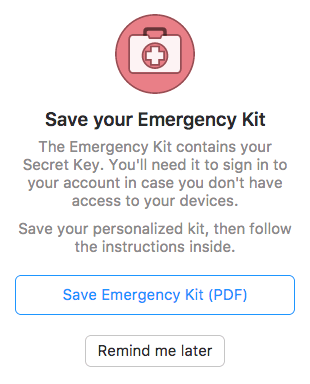
The first time you sign in you will be prompted to create your Emergency Kit. This is a PDF document that contains your Secret Key. Go ahead and download the Emergency Kit PDF.
You should have also been sent a welcome email that contains your Sign In Address which you’ll need in a moment. Check your inbox for the Welcome Email and make a note of your Sign In Address.
You are now inside your 1Password account dashboard. This is where you can access all your stored login details and perform account functions such as updating your profile.
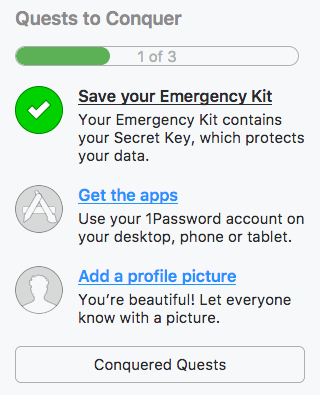
The next step is to download and install the 1Password app. Click on the “Get the Apps” link in the right hand panel.
Installing the 1Password App
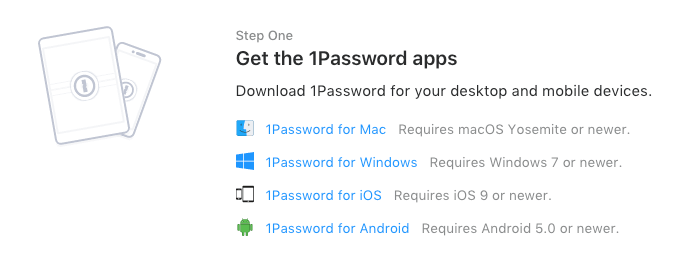
There are apps available for Windows and Mac platforms as well as mobile devices. Click on the relevant link for your system to download the app.
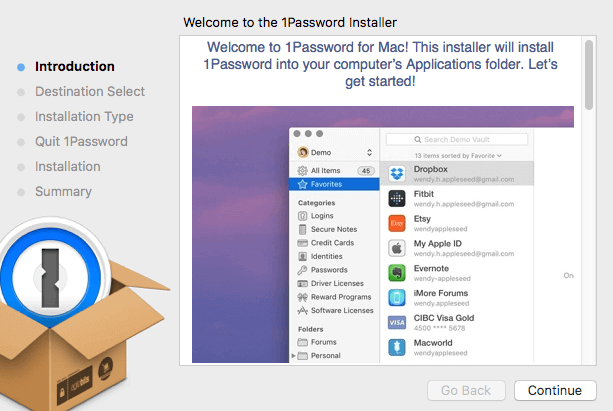
The app will begin to download and once complete, locate the downloaded file (usually in your downloads folder) and open it (double click) to begin the installation process. This process will vary depending on your operating system and browser.
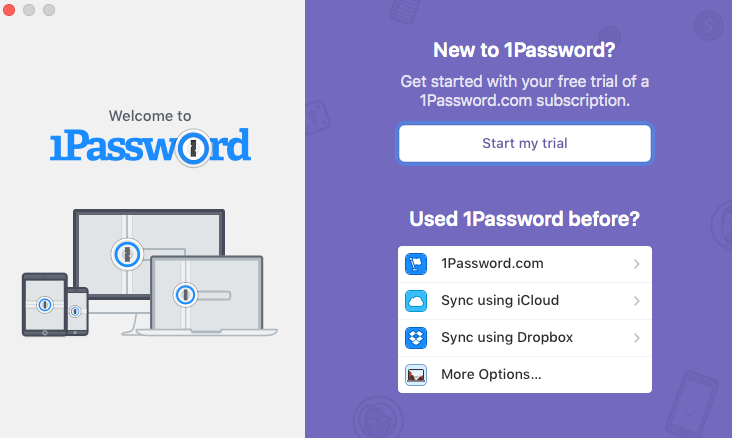
Once installation is complete you will need to login to your 1Password account via the app you have just installed. This is a slightly confusing screen. Do not click the “Start my Trail” button, as that will bring you back to the start of the process. Instead click the “1Password.com” link to bring you to the login screen.
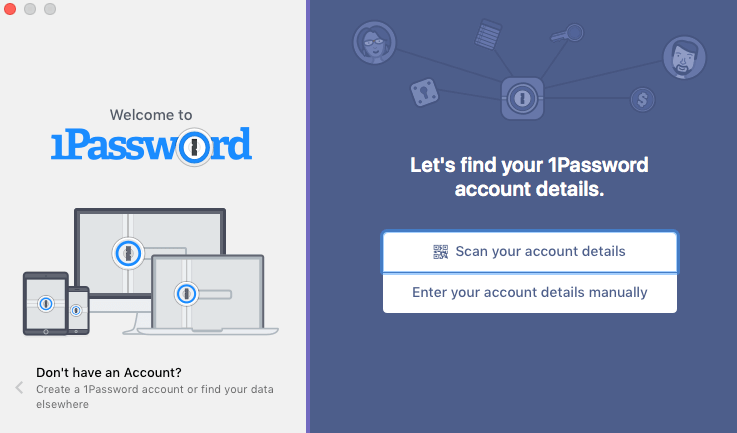
On the next screen, click the link “Enter your account details manually”.
Enter your account login details.
You can find your Sign In Address in your welcome email. If you haven’t received this, try using https://my.1password.com.
Your welcome email also lists the email address you used to register.
You should have made a note of your Secret Key, or you can find it in your Recovery Kit.
Type in your Master Password to login.
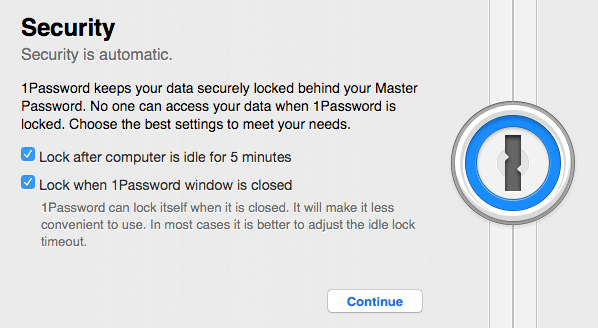
The first time you login to the app you will be asked to provide security preferences. You should at least ensure “Lock after computer is idle for 5 minutes” is ticked. This will ensure nobody can access your 1Password account or stored logins when your computer is unattended. Click the Continue button when you have made your choices.
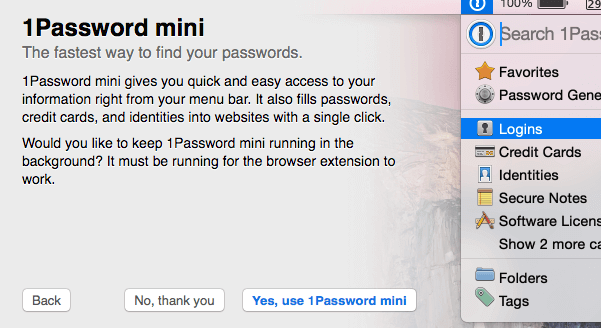
Next you will be asked if you wish to use 1Password mini. Click Yes, use 1Password mini. You need this to ensure 1Password will work properly with your web browsers.
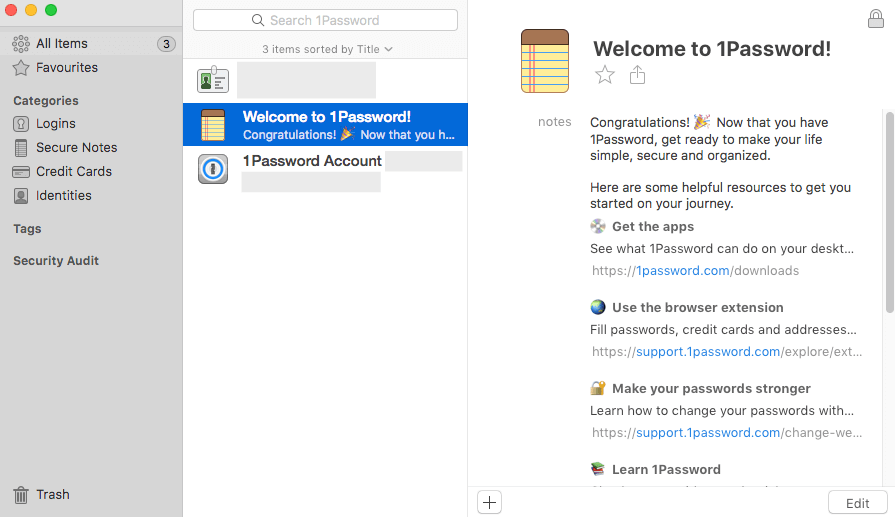
That’s it! Your 1Password app has been installed and configured and you are now in your account dashboard.
As you can see, you can access 1Password either from your browser or via the app. The app will likely be more convenient, especially on mobile devices.
However, the best way to use 1Password is to download the 1Password Browser Extension and use it in conjunction with the app. This allows you to login to all your favourite sites and fill out login forms, personal details forms, bank forms, with a single click.
Installing the 1Password Browser Extension
Using the same web browser you used to register with 1Password, go to the 1Password Browser Extension download page at https://agilebits.com/onepassword/extensions.
Click the Install button to install the browser extension.
Your browser will prompt you to confirm you wish to download and activate the extension. This will vary from browser to browser and you may be asked to conform a verification code or supply your computer’s admin password to complete the install.
Once the extension has been installed you will see a new 1Password button in your browser toolbar.
Save Login Details to 1Password
To save your login details for any web site, or store form details or credit card purchase details, simply go to the login page or shopping cart as usual and fill out your details.
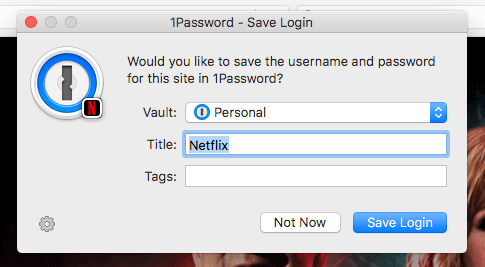
When you submit the form, 1Password will ask if you want to save the login details.
Decide which vault (storage location) you wish to save your details to and then type in a label for these saved details, if the suggested label is not suitable. Click the Save Login button to securely store your details to 1Password.
That’s all there is to it. The next time you want to log in to the stored site, or fill out a form containing stored details, click the 1Password button in the browser toolbar. In fact you don’t even need to be on the login screen, 1Password will take you there automatically from any page and complete the forms and get you logged-in. All with a single click.
For full details on all 1Password’s browser extension features and how to use them, visit the 1Password Help Center at https://support.1password.com/explore/extension/
